A step-by-step example of creating a custom tube metal part in Fusion 360, and then ordering it on oshcut.com.
Video Transcript:
In this video we’ll walk through some basics on how to get started with custom cut tube parts. So we’ll start by going to our instant quoting app. And you don’t have to start at this point, but sometimes it can be really helpful to understand what materials we can cut, and how to get started if you want a tube cut part. So I’ll go to browse all materials, I’ll select pipe and tube, and then I’ll choose the profile type that I want. In this case, I’ll pick square tube in A513 steel. So here’s a list of the different sizes that we currently stock. Sizes and wall thicknesses in square tube. So let’s say I want something out of 2 inch by 2 inch tube with a 0.065 inch wall. I’ll click more info here, and there’s the profile. I’ll download that DXF profile. And then I’m going to go into Fusion 360, CAD software. I already have a new design started here. I’m going to create a new sketch, select a plane, and then up top I’ll say insert DXF. I’ll go into that file I just downloaded, and then I’ll hit ok. And there’s the profile of that tube.
So to get started I'm going to go up in Fusion 360 to this solid portion and I’m going to select extrude. Or I can optionally just hit E and it does the same thing. I’ll select the inside of that profile, and that I can pan if you shift middle click, you can pan and get a view. So you can kind of see, I can drag this around, or I can just fill in this box that pops up right here with the length. Let’s say I want 12 inch tube. Alright now I’ve got a 12 inch tube that the OSH CUt system knows how to process and how to review. But the first thing I’ll do is I’ll just put some holes in it just to give you an example and cut some features on this. Maybe I want this to be a mitered part that creates a box if I ordered 4 of them. So I’m going to create a sketch. I’ll select a face of the tube right here. It actually doesn’t matter which one. And then let’s say I want to make a mitered face. Well what I’m going to do is I need to make a 45 degree cut on each end. So I’ll start here and I’ll drag this down. Notice that you can set the angle, so I’ll set it to 45 degrees. And the length, it doesn’t matter what the length is in this case, as long as it’s larger than the tube. And then I’ll drag another line across this way. And then I’ll just complete the feature here. Now I’ll do the same thing down on the opposite side. So grab this. Looks like it’s not snapping to that line, so what I’ll do real fast, just to make sure I get on that right, is I’m going to draw a line up here. I just hit L which is the hot key to draw a new line in a sketch. I’ll drag this all the way down to the bottom, and then I’ll select that line and hit X. Sp that turns it into a construction line so it’s not actually geometry. And then I’ll hit L again and now I can lock onto that intersection and drag this up. Again I want 45 degrees. And then I’ll draw a line across like this, and I’ll draw a line up like this. Alright, so there’s my miter.
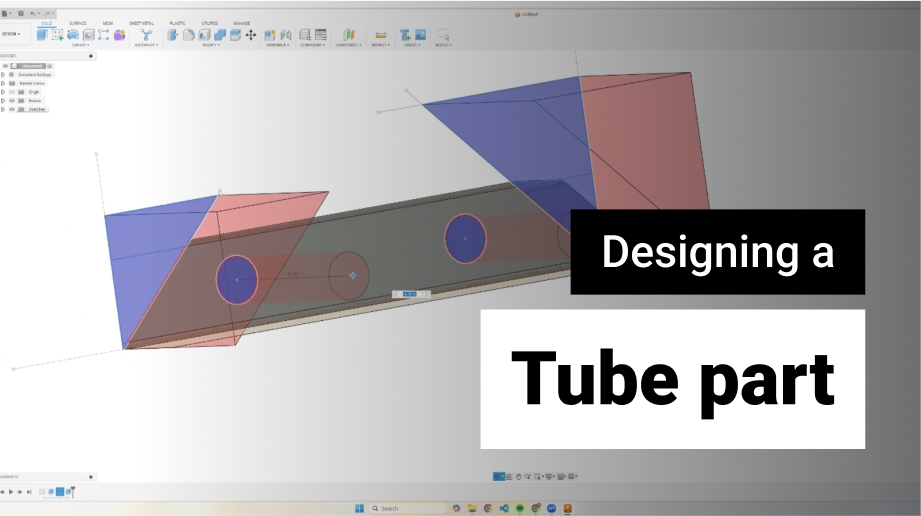
And now, just to make it a little interesting, let’s put a couple holes in it, and let’s make them, I don’t know, 2 inch holes. Actually it’s a 2 inch tube so let’s do a 1 inch hole. Big enough that this would be rather hard to do by hand. Naturally, If I was making a real part that served real purpose I would dimension these very carefully and make sure they're exactly perfect. Okay, so I’ve got my sketch, I'm going to hit E for extrude again, and I’m going to shift select all of these interior features. I’ll rotate this part, and then I can drag this through and it’s going to cut the tube in that way.
Now there’s a few things about this that are worth pointing out. Number 1, looks like I missed a feature, so lets go back into this corner. Double click, and notice that I missed this when I was selecting. So I’ll just select that as well. Okay, so now we’ve got it cut out. Now when the laser cuts through this material, so if you visualize this piece in the chuck, the laser is up here at the top. And it's going to have to tilt to cut this feature here. Well it can’t tilt more than 45 degrees so, I could have this cut out be up here at this angle that I’m drawing with my mouse, But it could not be steeper than this. And also notice that when you cut a feature out of the tube, it's actually shooting a beam of high density light, laser light, through the material. So you can’t actually have features that don’t cut all the way through the wall. Otherwise, it's just not a manufacturable part. Now it looks like I missed a thing on this end as well. Let me fix that. Zoom in, shift select that as well, hit ok. Alright, so that should be good. So if I order 4 of these I could theoretically put them in a box, and not even theoretically. I could put them in a box and load them up and call it good. So I’m going to call this a mitered section. And then I’m going to go up to the component in the top left and I’m going to go down to export, and export that step model.
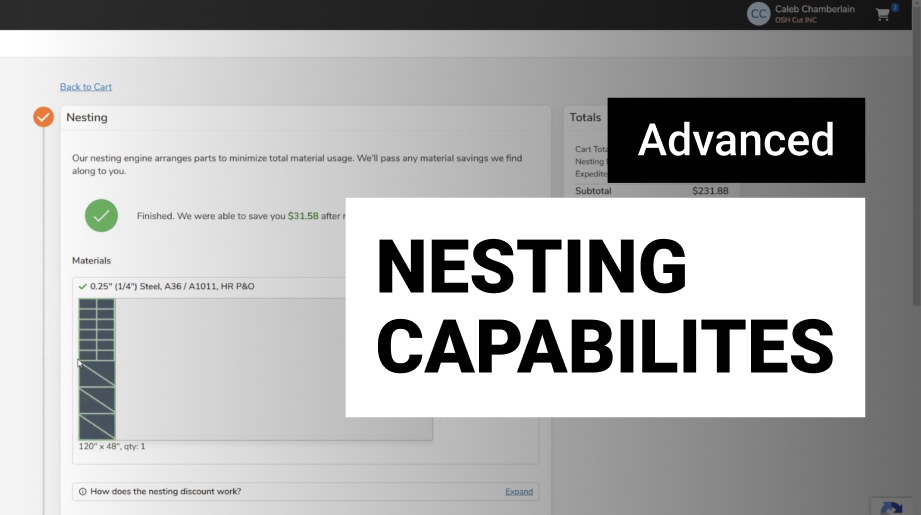
Alright, going back to the OSH Cut system, I’m going to click add parts. I’ll go to my downloads folder where that would have downloaded. Mitered section. Moment of truth. Alright. There it is. Looks like it processed the part right. I'll select the material. It was that 2 by 2 by 0.065 tube. And there you have it. So I want 4 of these. The price drops in half actually. The per part price going from one part to four drops in half. Notice that, you know, with tube there is some pretty substantial setup involved. And now for 85 bucks I can get 4 of these parts on order, and all set up and ready to go.